The result in this test
We used PhotoCraft 0.18.0 on Windows x64 to convert a small, self-created PSD into PNG and JPEG with the included command-line tool. The source was a 640 × 480 RGB document with a coloured rectangle on a transparent canvas.
The PNG kept the 640 × 480 dimensions. Its top-left pixel was transparent; the centre of the rectangle was opaque. The JPEG had a white corner and no alpha channel. PhotoCraft warned that the two source layers were flattened, and that JPEG transparency was composited over white.
We repeated this CLI exercise on 4 November 2026 with the same 0.18.0 build. The files linked here are the outputs of that run. We also exported the same source through the desktop menu below.

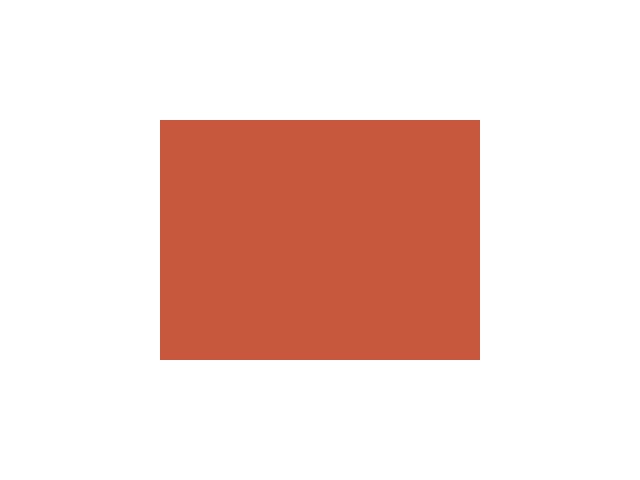
Desktop: export the transparent sample
We used this menu in PhotoCraft 0.18.0 on Windows x64 on 4 November 2026. The resulting PNG was 640 × 480, with a transparent corner and an opaque orange centre. The menu screenshot is from that operation.
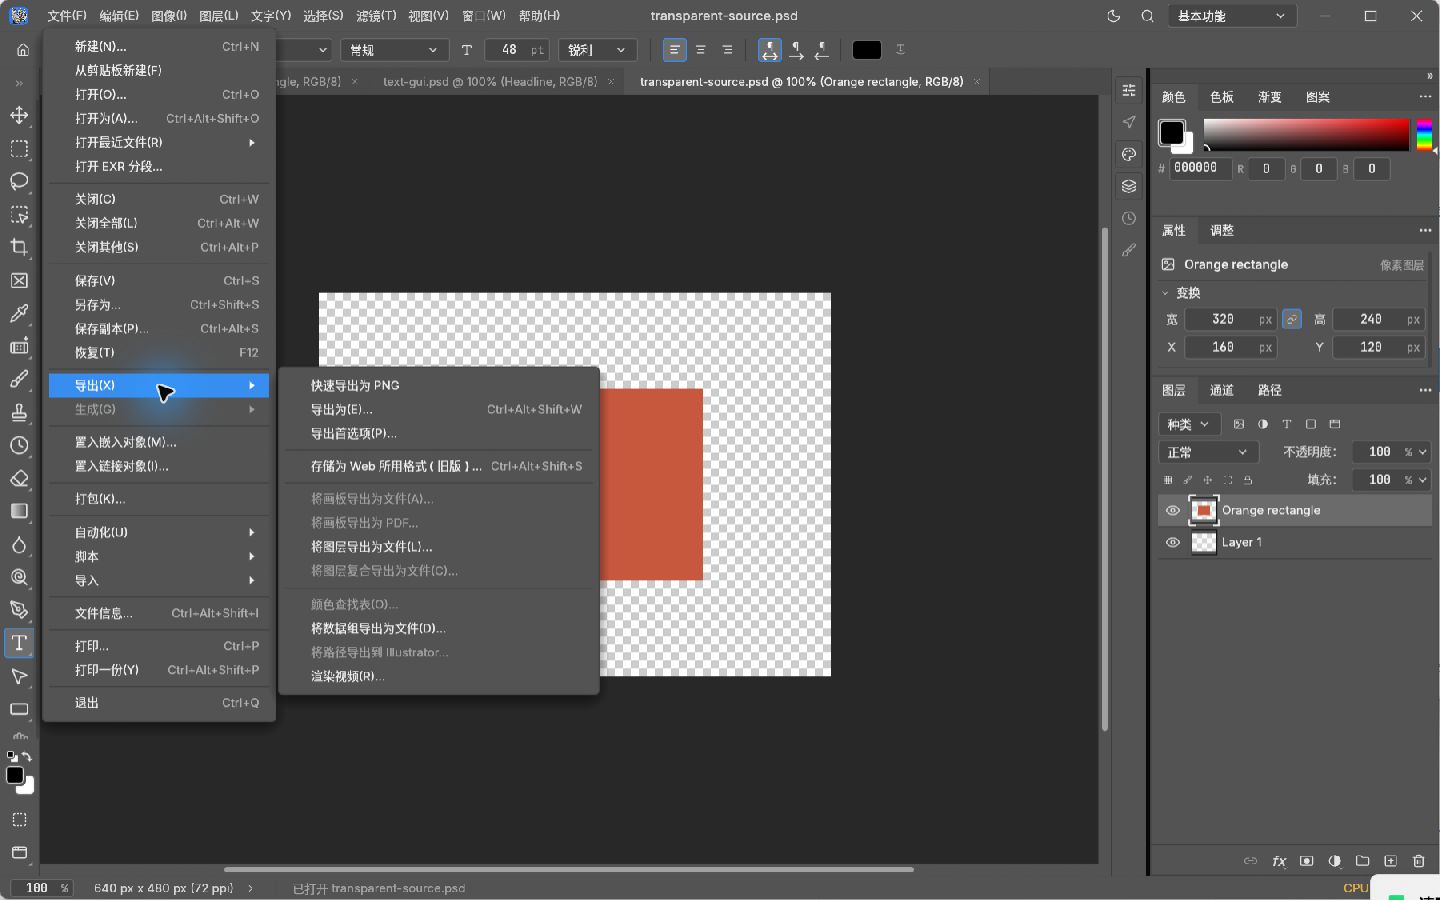
- Open transparent-source.psd with File → Open. You should see an orange rectangle with checkerboard around it.
- Choose File → Export → Quick Export as PNG. In our Chinese interface the path is 文件 → 导出 → 快速导出为 PNG.
- Choose an output filename such as gui-transparent-export.png and save. Keep the PSD separately; the PNG contains a flattened image.

Before you start
Keep the PSD as your editable source and make a separate export. PNG is a flattened image: it can preserve transparency, but it does not preserve the source document’s editable layer stack. JPEG does not support transparency.
The sample here was created in PhotoCraft, not Photoshop. It contains two pixel layers and no live text, smart objects, masks or colour-profile comparison. This test does not establish how your own layered PSD will convert.
CLI 1. Prepare the sample and the command-line tool
- Download the source PSD linked above. Keep an untouched copy.
- On Windows, get the matching PhotoCraft package from the publisher. Our test used the 0.18.0 Windows x64 portable package, which included photocraft-cli.exe.
- For this example, put a working copy of transparent-source.psd in the same extracted folder as photocraft-cli.exe. Open PowerShell in that folder. Choose a new output filename so you do not overwrite a file you need.
CLI 2. Convert the PSD to PNG
PhotoCraft printed a warning that the two layers were flattened. That warning describes the exported image; keep the PSD for subsequent edits. If the command fails, check the executable name, working folder and input filename before retrying.
.\photocraft-cli.exe convert .\transparent-source.psd .\transparent-export.pngCLI 3. Check the dimensions and transparency
A white page behind a transparent PNG can make the empty area look white. Inspect the alpha channel or use a viewer that shows transparency before concluding the background was baked into the image.
- Open the exported PNG in an image editor or viewer that can show transparency. Look at the area around the rectangle; a checkerboard commonly indicates transparent pixels.
- Confirm that the image is 640 × 480 pixels. Inspect the rectangle boundary at actual size and place the image on both a light and a dark background to spot an unwanted fringe.
- For this test, we also inspected pixel values: the top-left pixel was RGBA 0, 0, 0, 0 and a centre pixel was 199, 88, 61, 255. An alpha value of 0 is fully transparent; 255 is fully opaque.
CLI 4. Compare the JPEG
Our JPEG was 640 × 480 in RGB mode. The conversion reported lossy compression and composited transparency over white; its top-left pixel was white. Use JPEG when that flattened, opaque result fits the job. Use PNG when the recipient needs this transparency, and retain the PSD if someone must edit layers later.
.\photocraft-cli.exe convert .\transparent-source.psd .\flattened-export.jpgBefore you send a real project
Repeat the check on a duplicate of your own PSD. Compare the exported image against a reference from the source application at the same dimensions. Look closely at text, soft edges, transparency and colour; this rectangle does not exercise those features.
If a colleague needs editable content, send the agreed layered source as well as the flattened preview, then ask them to reopen and check it in their receiving editor.
How did your practice go?
Tell us whether you reached the result shown above.
For a correction, include the step and app version through our corrections channel.