A photo with a useful problem
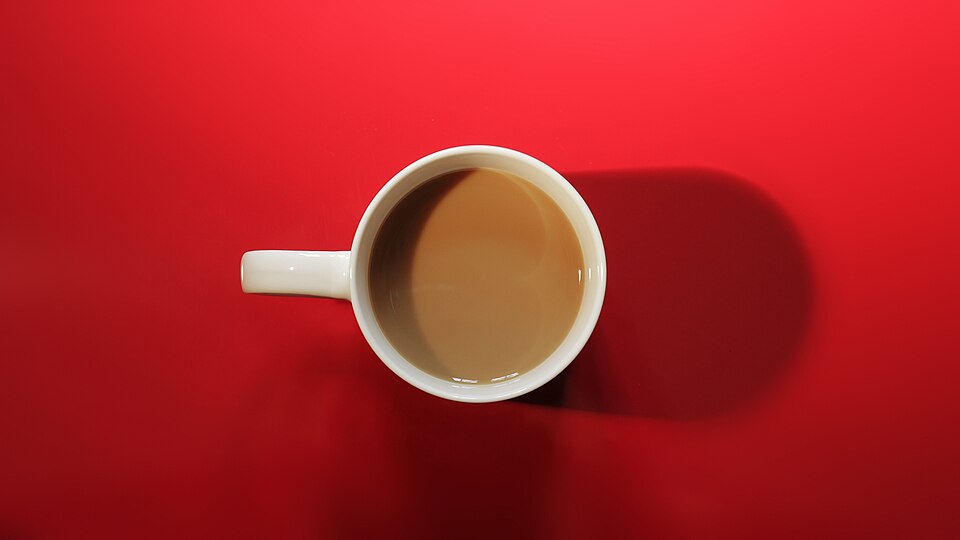
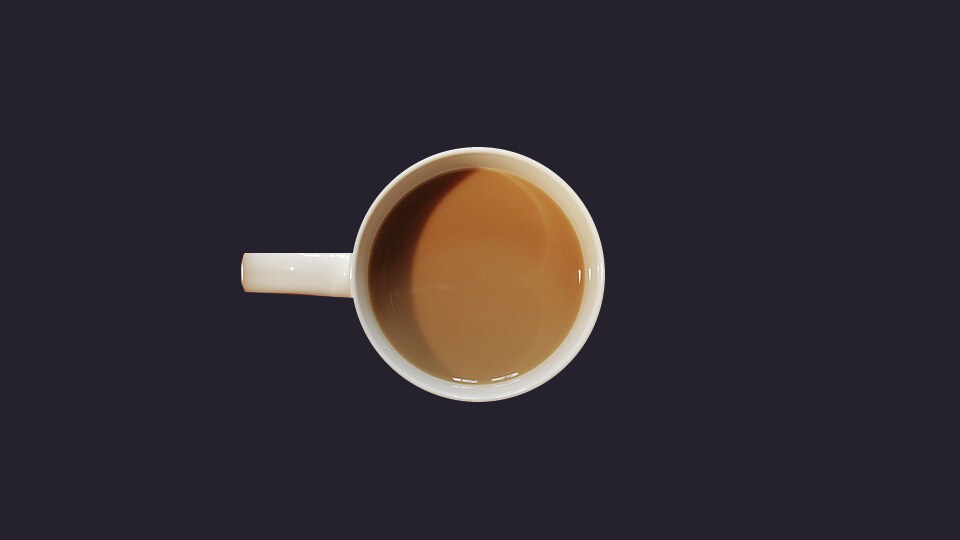
This cup has a clear outline, but its shadow is dark red. PhotoCraft’s automatic Remove Background kept that shadow in our test. We will show that result, then replace it with a selection drawn around the cup and handle.
The instructions use the PhotoCraft 0.18.0 CLI on Windows x64. The selection coordinates fit this 960 × 540 photograph. This method is useful for a simple, rigid shape; it does not demonstrate hair selection, translucent objects or automatic removal on arbitrary photos.
Sources: Photo, author and CC0 record · CC0 public-domain dedication

1. Try the automatic command on a copy
Download coffee-source.jpg into the folder containing photocraft-cli.exe, then open PowerShell 7 there. Run these two commands. The first saves a masked PSD; the second exports its appearance.
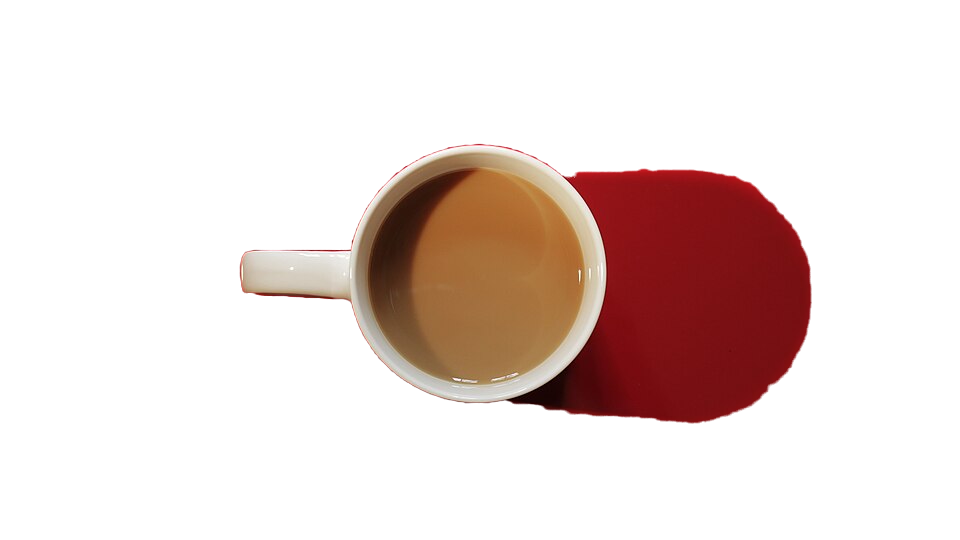
Look to the right of the cup in the image below. A large red area remains. The command finished successfully, but this is not a usable transparent cutout. We kept the failed result here so you can recognize the same problem in your own work.
.\photocraft-cli.exe run .\coffee-source.jpg --cmd layer.removeBackground --out .\coffee-auto.psd
.\photocraft-cli.exe convert .\coffee-auto.psd .\coffee-auto.png2. Select the cup and handle explicitly
Start again from the original JPEG. The command below makes its Background into a normal layer, draws an ellipse around the bowl, then adds a six-point outline around the handle. It gives the combined edge a 0.5 px feather and a small inward shift before saving it as a layer mask.
The ellipse starts at x=351, y=147 and measures 254 × 255 px. The handle points follow the outside of the handle. These numbers are measurements for the supplied photo, so use the original dimensions. Resizing or cropping the input invalidates them.
.\photocraft-cli.exe run .\coffee-source.jpg --cmd layer.new.layerFromBackground --cmd select.rect --params '{"x":351,"y":147,"width":254,"height":255,"ellipse":true,"antiAlias":true}' --cmd select.lasso --params '{"points":[[244,253],[354,253],[355,298],[245,292],[241,282],[241,265]],"mode":"add","antiAlias":true}' --cmd select.refineEdge --params '{"feather":0.5,"shiftEdge":-5,"output":"layerMask"}' --cmd select.deselect --out .\coffee-cutout.psd3. Reopen the mask and export the PNG
Read the saved PSD with info. The image layer should report hasMask: true. Then convert it to PNG. The warning about flattening refers to the PNG; the PSD retains its mask.
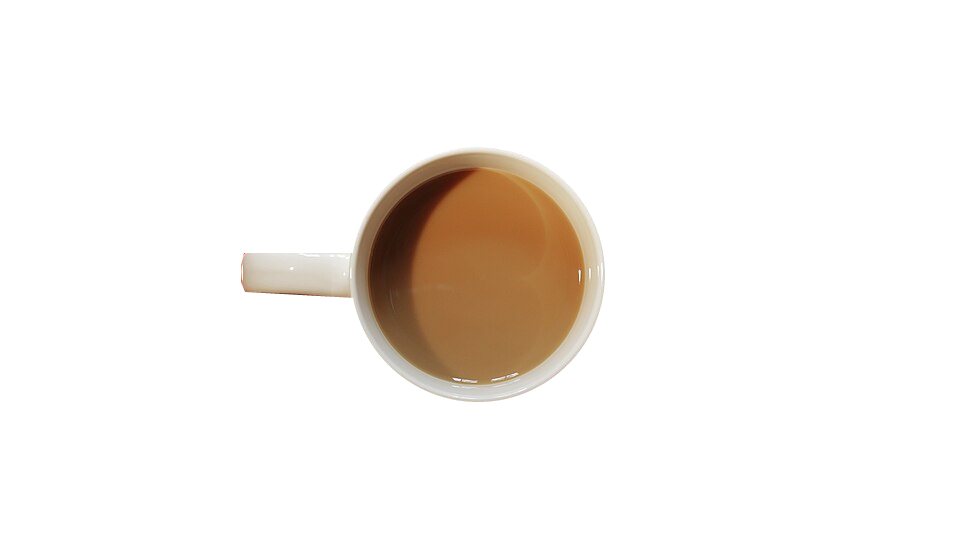
Our exported PNG is 960 × 540. The corner and the old shadow position are transparent, while the coffee remains opaque. Those checks catch the large failure in step 1; inspecting a few pixels does not certify every point on the edge.
.\photocraft-cli.exe info .\coffee-cutout.psd
.\photocraft-cli.exe convert .\coffee-cutout.psd .\coffee-cutout.pngScroll to view all columns on a small screen.
| Pixel (x, y) | What it checks | Observed alpha |
|---|---|---|
| 50, 50 | Red table removed | 0 — transparent |
| 480, 270 | Coffee retained | 255 — opaque |
| 700, 270 | Unwanted shadow removed | 0 — transparent |
4. Check the edge on light and dark backgrounds
A cutout can look acceptable on one background and reveal a fringe on another. These previews were made in PhotoCraft by adding a solid layer below the same saved cup layer. Inspect the rim and the end of the handle at actual size.
The geometric selection slightly simplifies the handle corners. This is a practical cutout for the sample, not a pixel-perfect product retouch. If your deliverable needs an exact contour, adjust the mask around those corners and compare it with the untouched photograph.
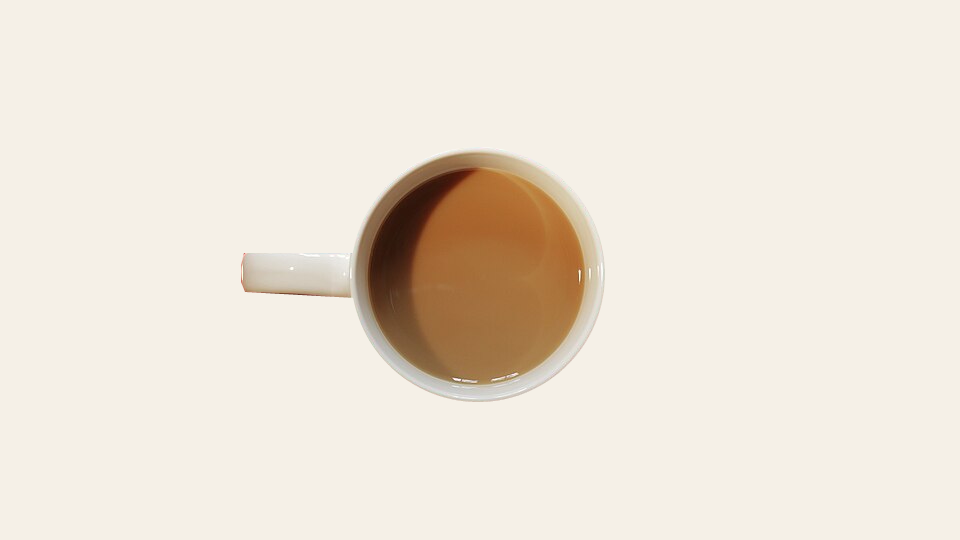
The same edge on a dark background
The dark preview makes pale or coloured edge pixels easier to see. Notice the faint warm edge on the handle: some of that colour is in the photograph itself. Contracting the mask further would hide more of it, but would also remove more of the cup.
5. Prove that the hidden photo is still there
Disable the layer mask in another PSD and export it. In our test, the red table and shadow returned. This is why we kept a mask rather than deleting background pixels. Keep the original JPEG as well.
.\photocraft-cli.exe run .\coffee-cutout.psd --cmd layer.layerMask.enabled --params '{"enabled":false}' --out .\coffee-restored.psd
.\photocraft-cli.exe convert .\coffee-restored.psd .\coffee-restored.pngTest scope and source
We ran the commands, reopened the PSD, checked its mask and inspected the actual PNG outputs on 4 November 2026. A separate reproduction of the commands confirmed the mask and the three alpha values. We did not test desktop menu steps or a Photoshop round trip for this photo.
The source photo is listed under CC0 on Wikimedia Commons, with the contributor recorded as www.Pixel.la Free Stock Photos. The page includes a review of that license. Our downloadable source is the 960 × 540 version; the cutout and background previews are derived from it.
Sources: Original photo and license record · PhotoCraft version used for this exercise
How did your practice go?
Tell us whether you reached the result shown above.
For a correction, include the step and app version through our corrections channel.